

Smaller golden halos or larger highlights. A guide to choosing your liquid filter, setting up the light and checking your equipment before shooting.

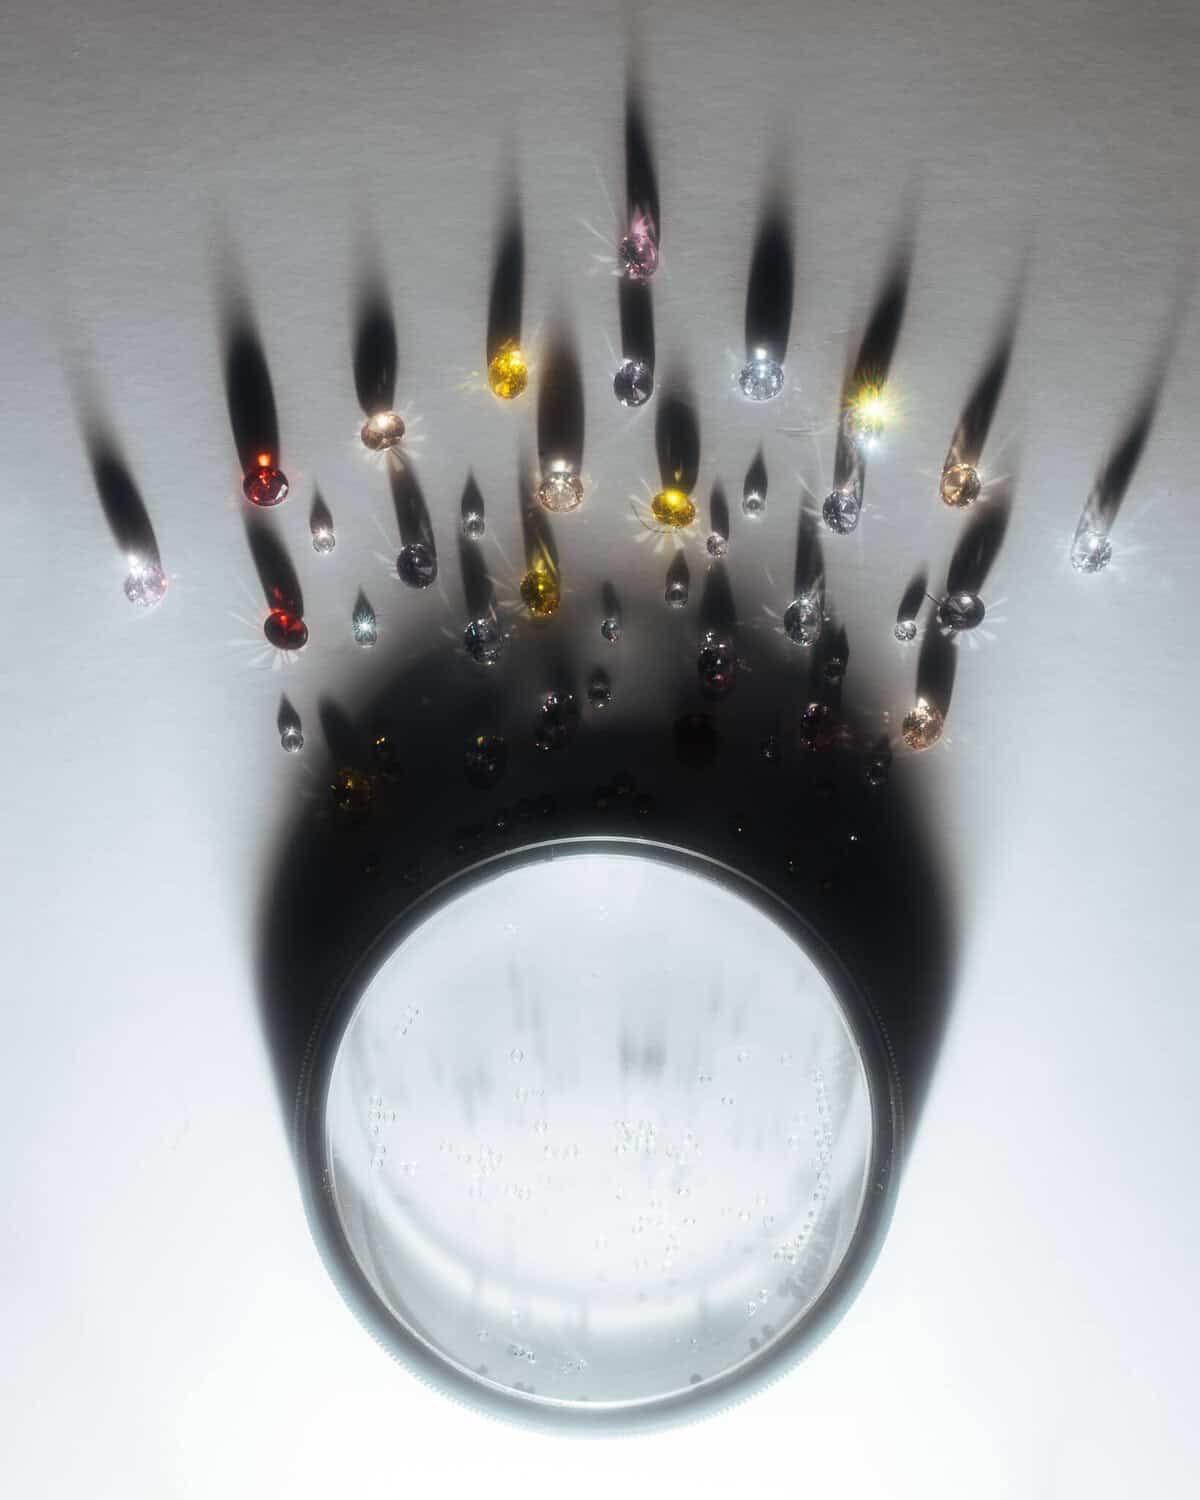
Product photographs from the original SZ Filters listings. Images are unaltered and are not shown at a common size scale.
Both are physical filters with moving material inside a liquid core. The effect happens during capture: light reaching the filter reflects off its particles and adds halos to the image. You do not need a preset to create that effect.
There is no universal winner. Your choice depends on how prominent you want the highlights to be and which movement suits your scene.
| What changes | Midas Touch | The Gem |
|---|---|---|
| Reflective material | Gold flecks | Simulated diamonds |
| Halos | Smaller and more numerous | Larger |
| Movement | Slower descent | Faster descent |
| Creative starting point | Build the scene around golden highlights | Give larger moving highlights a leading role |
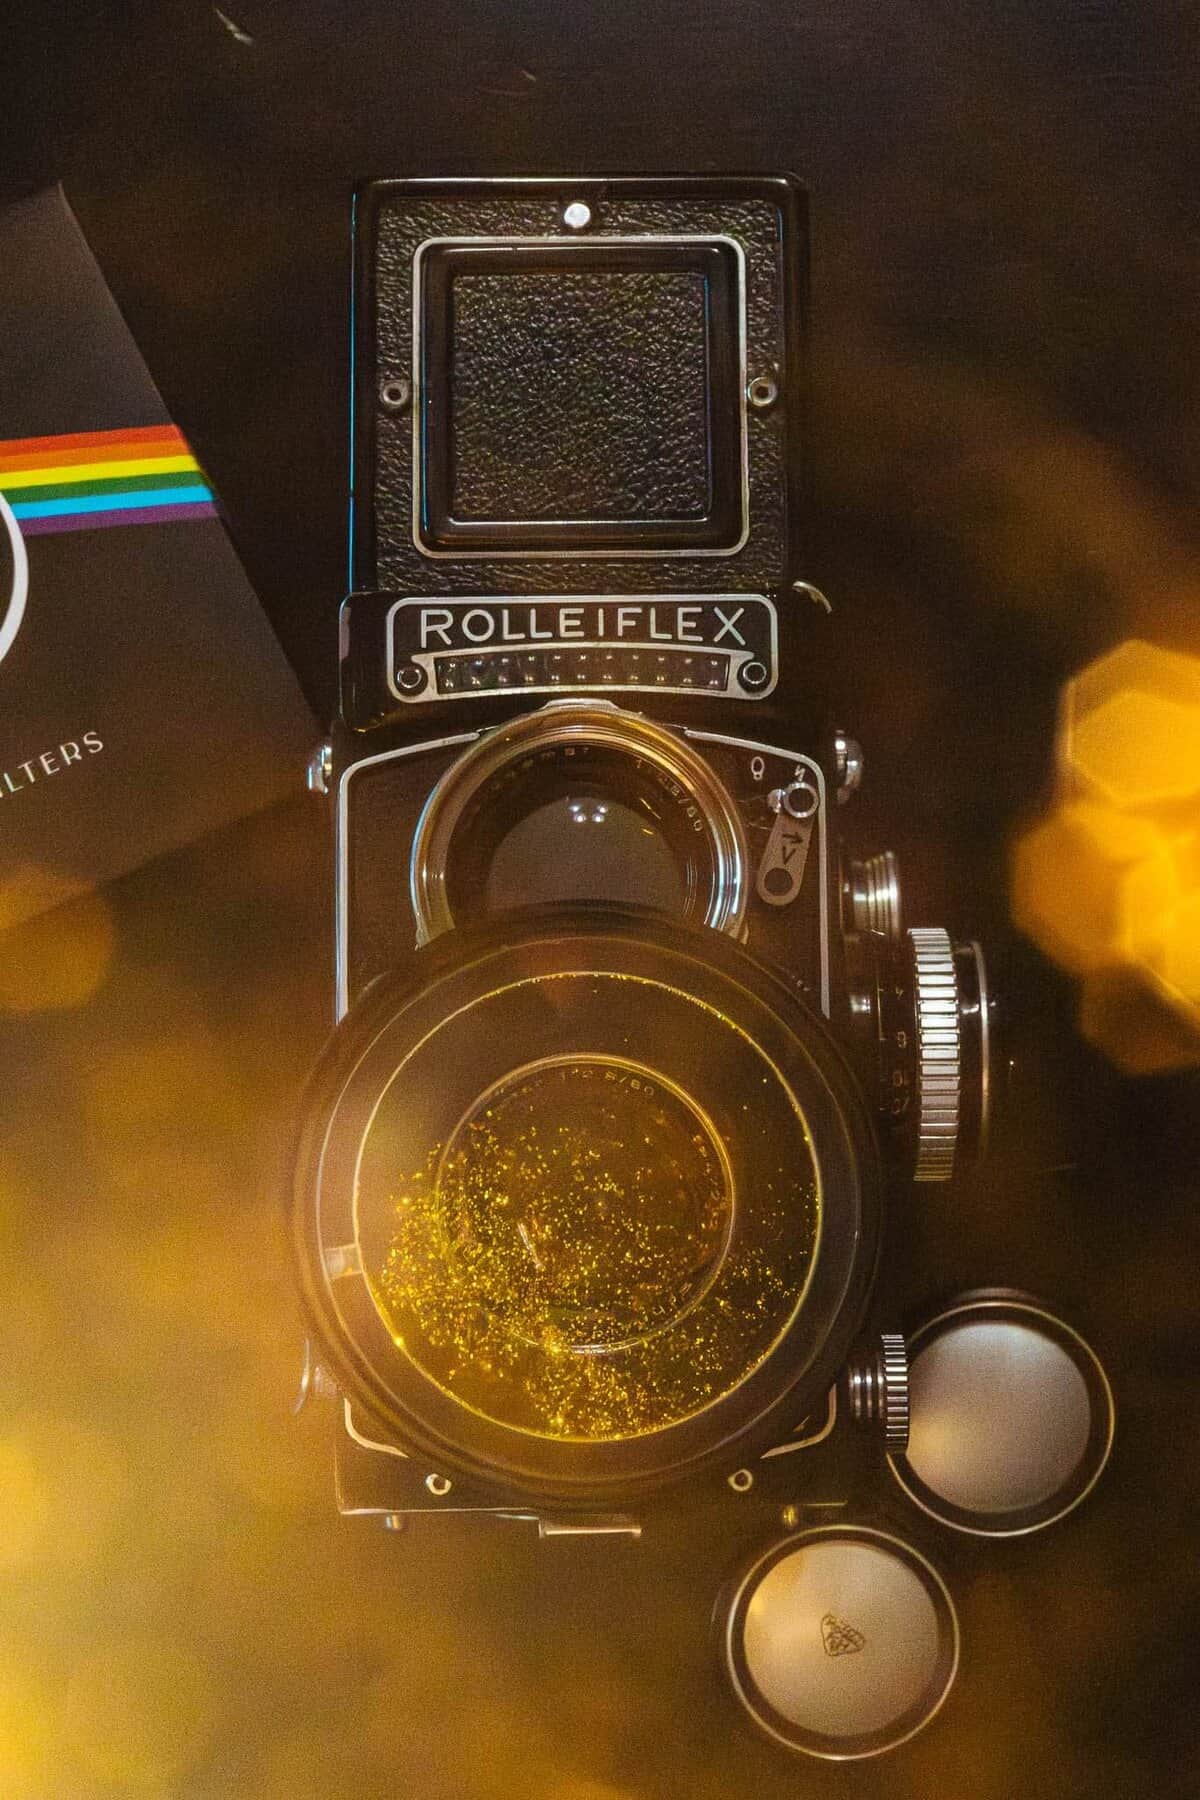

Try natural light or an additional light source. A lens hood can block the light needed to create the halos.
A darker background helps it stand out. If the effect is barely visible, change the direction of the light before assuming the filter is not working.
Move the camera or light source slightly. Notice whether the halo complements or obscures the subject and decide how much effect you want in the shot.
The focal length and the filter thread diameter are different things. The first influences the appearance of the halos; the second determines how to mount the filter.
The SZ guide warns that circular marks may appear near the edges with lenses below 50 mm and with wide-angle lenses. Take a test shot and inspect the entire frame: physical fit does not guarantee clear edges.
To check the fit, look for the Ø symbol on your lens and read the filter size and adapter guide.
If your idea revolves around smaller golden halos and slower visual movement.
Explore Midas Touch ↗If you want larger highlights and would like to explore the movement of its particles inside the filter.
Explore The Gem ↗If you are still unsure, share the effect you want and your lens model with the SZ Filters team. That is a more useful starting point than choosing by the filter's name alone.
Not necessarily. The result depends on lighting, focal length, camera settings and movement. The images are creative references, not a guarantee of an identical result.
Keep framing, exposure, white balance and lighting fixed. Record a reference without a filter first, then each filter with the same settings. Note any changes between shots.
This selection guide is based on information published by SZ Filters. It is not a laboratory test or an independent review. Creative suggestions are starting points only.